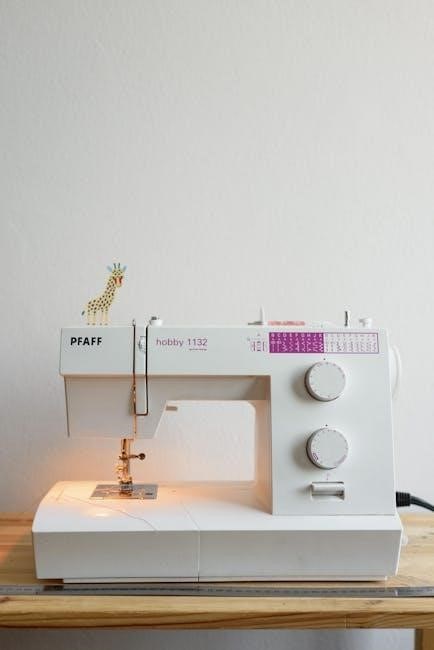
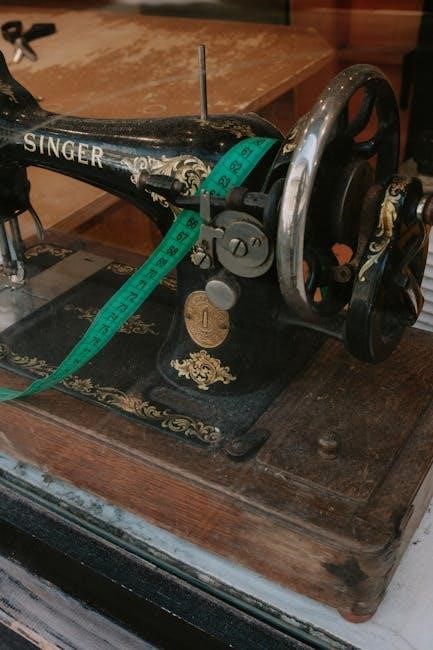
Common Singer Sewing Machine Issues
Singer sewing machines often face issues like thread tension, improper threading, needle-related problems, bobbin troubles, and machine jamming. These can lead to poor stitch quality or machine malfunction.
1.1. Thread Tension Problems
Thread tension issues are among the most frequent Singer sewing machine problems. Symptoms include uneven stitches, loose threading, or excessive tightness in the fabric. These problems often arise from incorrect tension settings or improper threading. Users may experience thread bunching under the needle or looped threads on the underside of the fabric. To address this, check the take-up lever and ensure the thread is properly seated in the tension discs. Adjusting the upper thread tension dial to the correct setting can resolve most issues. If problems persist, rethreading the machine or consulting the manual may be necessary.
Regular maintenance, such as cleaning the tension discs and ensuring the thread path is clear, can prevent tension-related problems. Additionally, using high-quality thread compatible with the machine and fabric type can minimize issues. Proper thread tension is essential for consistent stitching and seamless sewing experiences. Always refer to the Singer sewing machine troubleshooting guide for specific adjustment instructions tailored to your model.
1.2. Threading Issues
Threading issues are common in Singer sewing machines and can lead to thread bunching, skipped stitches, or machine jamming. Incorrect threading techniques often cause these problems. Ensure the thread is properly seated in the take-up lever and guides. If the thread slips out of the tension discs or is not correctly looped around the machine’s components, it can result in uneven stitches or complete thread breakage. Regularly cleaning the thread path and using the correct thread type for your fabric can help prevent these issues. Always refer to your Singer sewing machine manual for the correct threading sequence to avoid such problems.
Improper threading can also cause the machine to malfunction or produce poor stitch quality. If you notice thread tangling or loose stitches, rethreading the machine following the manufacturer’s guidelines is essential. Using high-quality thread and ensuring all thread guides are properly aligned can minimize threading-related issues. Proper threading is the foundation of smooth sewing, so taking the time to thread correctly will enhance your overall sewing experience and prevent frustrating setbacks during your projects.
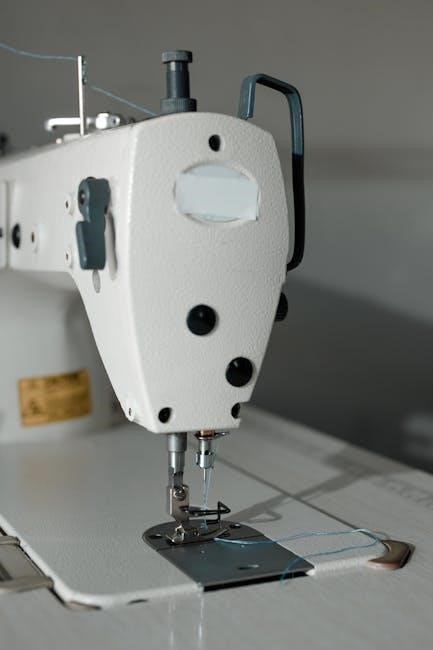
1.3. Needle-Related Problems
Needle-related issues are a common challenge for Singer sewing machine users. A bent or dull needle can cause skipped stitches, fabric damage, or thread breakage. Using the wrong needle size or type for your fabric can also lead to poor stitch quality. Additionally, improper needle installation, such as inserting the needle backward or not seating it fully, can disrupt machine operation. Regularly inspecting and replacing dull or damaged needles ensures smooth sewing. Always use high-quality, Singer-recommended needles suitable for your specific fabric type to prevent these issues and maintain optimal performance.
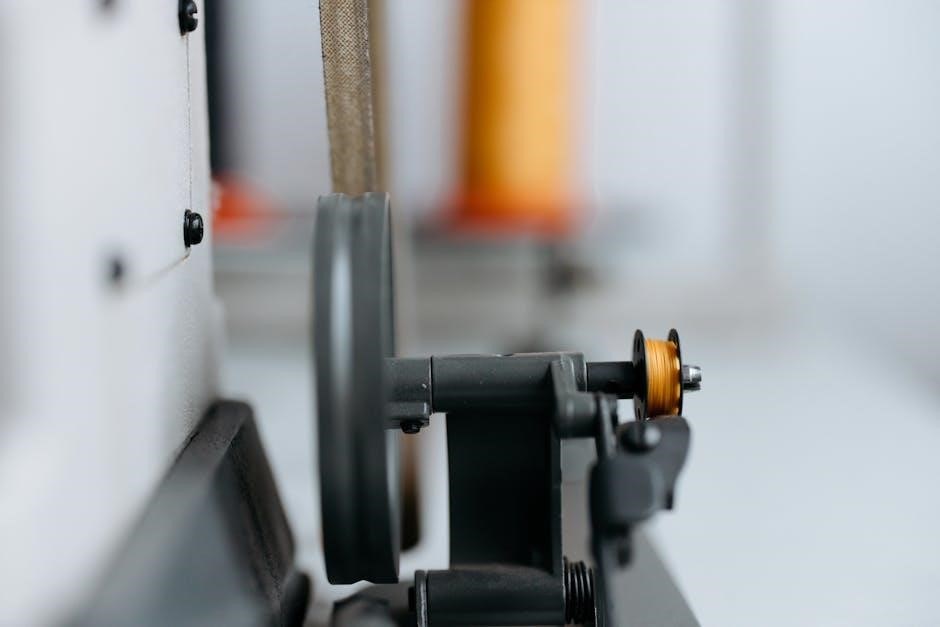
1.4. Bobbin Troubles
Bobbin-related issues often cause frustration for Singer sewing machine users. A misplaced bobbin case can lead to uneven stitching or thread jams. Improperly wound bobbins, such as overfilling or using the wrong thread type, can disrupt tension and cause breakage. Additionally, if the bobbin thread is not seated correctly in the machine’s tension discs, it can result in poor stitch formation. Regularly inspecting and correctly winding bobbins, as well as ensuring the bobbin case is properly aligned, helps prevent these issues. Always follow Singer’s guidelines for bobbin preparation to maintain smooth and consistent stitching.
1.5. Machine Jamming
Machine jamming is a common issue that can halt your sewing progress. It often occurs due to tangled threads, incorrect thread tension, or debris inside the machine. Skipped stitches, thread bunching, or needle-related problems can also contribute to jams. To resolve this, gently remove any tangled threads, clean the machine’s interior, and ensure all parts are properly aligned. Regular maintenance, such as oiling and dusting, can prevent future jams. Always rethread the machine correctly and avoid using damaged or low-quality threads. Addressing jams promptly helps maintain your Singer sewing machine’s performance and extends its lifespan.
Thread Tension Problems
Thread tension issues are common, causing uneven stitching or fabric puckering. Check upper and lower tensions, ensuring they’re balanced. Incorrect settings can lead to poor stitch quality or thread breakage.
2.1. Upper Thread Tension Adjustment
Adjusting the upper thread tension is crucial for balanced stitching. Locate the tension dial on the machine’s front. Turn it clockwise to tighten or counterclockwise to loosen the thread. Always test on scrap fabric after adjustments. If stitches are uneven or puckering occurs, tweak the tension gradually. Ensure the needle is correct and properly installed. Balanced tension prevents thread breakage and ensures smooth stitching. Proper adjustment avoids issues like loose threads or tight fabric. Regular checks maintain optimal sewing performance.
2.2. Lower Bobbin Thread Tension Issues
Lower bobbin thread tension issues often cause uneven stitching or loose fabric. Check if the bobbin is properly seated in the bobbin case and ensure it’s wound correctly; If the bobbin thread is too tight or too loose, adjust the small screw on the bobbin case. Use the screwdriver provided with your machine. Test the tension by gently tugging the bobbin thread. If it resists slightly but doesn’t break, the tension is balanced. Incorrect tension can lead to thread breakage or puckering. Always refer to your Singer machine’s manual for specific adjustment guidelines to maintain optimal stitching performance.
2.3. Balancing Thread Tension
Balancing thread tension is crucial for consistent stitching. Start by ensuring the upper thread tension is set to the midpoint on the dial. If stitches are uneven, slightly adjust the upper tension or the bobbin screw. Test the thread by pulling gently; it should resist but not break. If the bobbin thread is too loose, tighten the bobbin case screw. For optimal balance, use the same thread type for both upper and bobbin threads. Avoid over-tightening, as this can cause thread breakage or machine jamming. Properly balanced tension ensures smooth fabric handling and professional-looking stitches every time.

Threading Issues
Threading issues are common, often caused by incorrect techniques or loose threads. Always follow manufacturer guidelines for proper threading to ensure smooth operation and prevent jams.
3.1. Incorrect Threading Techniques
Incorrect threading techniques are a common issue, often leading to thread bunching, skipped stitches, or machine jams. Improperly threading the machine can cause uneven tension, loose stitches, or even needle damage. Many users mistakenly skip guide slots or fail to pull the thread tight after threading, which disrupts the stitching process. Additionally, using the wrong type of thread for the fabric can exacerbate threading problems. Always refer to your Singer sewing machine manual for the correct threading path and ensure the thread is seated properly in all guides. Regularly rethreading the machine when changing threads can prevent these issues.
3.2. Regular Threading Maintenance
Regular threading maintenance is crucial for optimal performance of your Singer sewing machine. Dust and lint accumulation in the thread path can cause friction, leading to thread breakage or uneven tension. It is recommended to clean the bobbin area and thread guides frequently. Additionally, always rethread the machine when changing thread colors or fabrics to ensure proper tension. Lubricating the machine’s internal components periodically can also prevent thread-related issues. By incorporating these maintenance steps into your routine, you can minimize threading problems and extend the lifespan of your sewing machine.
3;3. Rethreading the Upper Thread Path
Rethreading the upper thread path is essential when encountering threading issues. Start by turning off the machine and gently removing any tangled thread. Locate the spool pin and carefully guide the thread through the tension discs, ensuring it’s seated properly. Next, pass the thread through the take-up lever and then through the needle’s eye. Avoid pulling the thread too tightly, as this can cause misalignment. If the thread slips out of the tension discs, rethread slowly and methodically. Proper rethreading ensures even tension and smooth stitching, preventing further issues during sewing.
Needle-Related Problems
Needle-related problems often arise from bent or dull needles, incorrect size or type, or installation mistakes. These issues can cause skipped stitches, uneven stitching, or complete machine malfunction.
4.1. Bent or Dull Needles
Bent or dull needles are common issues that can cause poor stitch quality, skipped stitches, or even fabric damage. A bent needle may result from improper handling or collision with metal components. Dull needles, on the other hand, occur due to prolonged use and can lead to uneven stitching or thread breakage. Regularly inspecting the needle for signs of wear or damage is essential. Replace the needle if it appears bent or shows visible dullness. Always use the correct needle type and size for your fabric to prevent such problems and ensure smooth sewing operation.
4.2. Incorrect Needle Size or Type
Using the wrong needle size or type can lead to poor stitch quality, skipped stitches, or fabric damage. Heavy fabrics like denim require stronger, larger needles, while delicate materials need finer ones. A universal needle is a good all-purpose option, but specialized tasks may demand specific types, such as stretch or leather needles. Always match the needle to your fabric and sewing task to ensure optimal results. Using the wrong needle can cause thread breakage, uneven stitching, or even machine damage over time. Regularly checking and replacing needles as needed is crucial for smooth sewing operations.
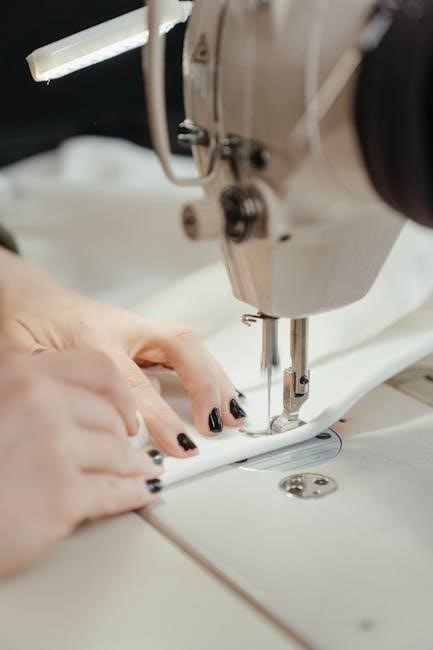
4.3. Needle Installation Mistakes
Improper needle installation is a common issue that can cause skipped stitches, thread breakage, or uneven stitching. Ensure the needle is inserted correctly, with the flat side facing the correct direction. If the needle is inserted backward or not fully seated, it can lead to poor stitch quality or machine malfunction. Always refer to your Singer sewing machine manual for specific installation instructions. Using the wrong needle orientation or failing to secure it tightly can disrupt sewing operations. Regularly check the needle’s position and alignment to prevent such issues and maintain smooth stitching performance.
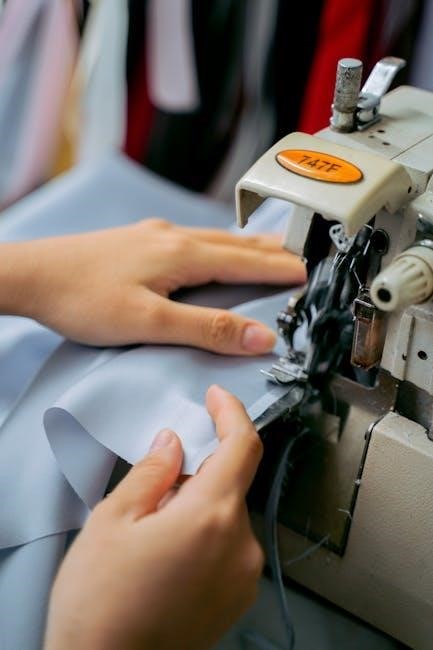
Bobbin Troubles
Bobbin issues often arise from misplacement, improper winding, or thread breakage. These problems can cause jams, uneven stitching, or complete machine shutdown. Regularly check bobbin alignment and winding techniques to ensure smooth operation.
5.1. Misplaced Bobbin Case
A misplaced or improperly inserted bobbin case is a common issue that can disrupt stitching and cause thread breakage. Ensure the bobbin case is securely seated in its compartment, aligning with the machine’s hook. If the case is not correctly positioned, the thread may loop or tangle excessively. Gently pull the bobbin case to confirm it’s locked in place. Improper installation can also lead to uneven tension, affecting stitch quality. Always refer to your Singer sewing machine manual for specific guidance on bobbin case placement to avoid such complications and maintain smooth sewing operations.
5.2. Improper Bobbin Winding
Improper bobbin winding is a frequent issue that can cause thread breakage, tangling, or uneven stitching. Ensure the bobbin is wound evenly, avoiding overfilling, as this can disrupt the machine’s tension. If the thread is not securely fastened or winds loosely, it may lead to poor stitch quality. Always use the correct bobbin type for your Singer machine and wind it at a steady pace. Overwinding or uneven winding can also cause the thread to slip or knot. Properly winding the bobbin is essential for smooth sewing operations and maintaining consistent thread flow.
5.3. Bobbin Thread Breakage
Bobbin thread breakage is a common issue that disrupts sewing. It often occurs due to incorrect thread tension, using the wrong thread type, or improper bobbin winding. If the bobbin thread is too tight or too loose, it can snap easily. Additionally, a misplaced bobbin case or a dull needle can cause friction, leading to thread breakage. To fix this, ensure the bobbin is correctly seated, adjust the tension, and use high-quality thread suitable for your fabric. Regularly cleaning the machine and checking for needle damage can also prevent this problem. Proper maintenance and correct thread handling are key to avoiding bobbin thread breakage.
Machine Jamming
Machine jamming often occurs due to thread tangles, incorrect tension, or debris buildup. Regular cleaning, proper threading, and using the right needle size can help prevent jams.
6.1. Causes of Machine Jamming
Machine jamming is often caused by thread tangles, improper tension, or debris buildup. Incorrect needle size, misaligned fabrics, or loose threads can also contribute. Additionally, skipped stitches or thread shedding may lead to jams. Proper maintenance, such as cleaning the machine and ensuring correct threading, can prevent these issues. Addressing these causes promptly helps avoid damage to the machine or fabric.
6.2. Clearing Thread Jams
To clear thread jams, first, turn off the machine and unplug it for safety. Gently remove the fabric and carefully cut the tangled thread. Take out the bobbin and clean the bobbin area with a small brush. Remove any loose threads or debris that may be causing the jam. Reinstall the bobbin and rethread the machine, ensuring the thread path is correct. Test the machine by sewing on a scrap piece of fabric to ensure the issue is resolved. Regular cleaning and proper threading can prevent future jams.
6.3. Preventing Future Jams
Preventing thread jams requires regular maintenance and careful use of your Singer sewing machine. Always clean the bobbin area and remove lint after each project. Use high-quality thread and ensure it is properly wound on the bobbin. Avoid pulling the fabric too tightly, as this can cause misalignment. Regularly oil the machine according to the manufacturer’s instructions to keep it running smoothly. Store the machine in a dry, cool place to prevent rust and dust buildup. By following these steps, you can significantly reduce the likelihood of future thread jams and ensure consistent stitching performance.
Motor and Power Issues
Motor issues may arise from faulty power cords, loose foot pedal connections, or internal electrical problems. Ensure all cords are secure and test the foot pedal. If issues persist, check for worn-out motors or electrical components and consult a professional for repair to avoid further damage and ensure safe operation.
7.1. Checking the Power Cord
Always start by inspecting the power cord for any visible damage, such as frays, cuts, or loose connections. Ensure the cord is securely plugged into both the sewing machine and the power outlet. If the machine still doesn’t turn on, try using a different outlet to rule out electrical issues. Additionally, check the foot pedal connection, as a loose or damaged pedal can prevent the motor from functioning properly. If the problem persists, consult a professional to diagnose any internal electrical faults. Regularly checking and maintaining the power cord can prevent unexpected machine failures and ensure smooth operation.
7.2. Foot Pedal Connection Problems
Foot pedal issues can disrupt sewing machine operation. Check if the pedal is securely connected to the machine. Loose connections or damaged cords may prevent proper function. Ensure the pedal is clean and free from debris, as dirt can interfere with its performance. If the pedal feels unresponsive, try testing it on a different machine or outlet to identify the source of the problem. Misaligned or worn-out pedals may require adjustment or replacement. Regularly inspecting and maintaining the foot pedal connection can help prevent sudden stops or inconsistent speed control while sewing.
7.3. Resetting the Machine
Resetting your Singer sewing machine can often resolve unexpected issues. Start by turning the machine off and unplugging it from the power source. Allow it to rest for a few minutes to reset internal components. Plug it back in and turn it on to see if the issue persists. If the machine has a dedicated reset button, refer to the user manual for specific instructions. Resetting can help clear glitches, restore default settings, and ensure smooth operation. Regular resets can prevent minor technical hiccups and maintain optimal performance over time.
Stitch Quality Issues
Stitch quality issues, like skipped stitches, puckering, or uneven stitching, often arise from improper thread tension, dull needles, or incorrect machine settings. Regular maintenance can help prevent these problems.
8.1. Skipped Stitches
Skipped stitches occur when the sewing machine needle fails to penetrate the fabric, resulting in missed stitches. This issue is often due to a dull or damaged needle, incorrect needle size, or improper thread tension. Additionally, disrupted timing between the needle and loopers can cause skipped stitches. To resolve this, inspect and replace the needle if necessary, ensure proper thread tension, and check the machine’s timing. Regular maintenance and using the correct needle type for your fabric can prevent this problem. Addressing skipped stitches promptly helps maintain stitch quality and ensures smooth sewing operations.
8.2. Puckering or Looping
Puckering or looping on the fabric surface indicates uneven thread tension or improper stitch formation. Puckering occurs when the fabric gathers excessively, often due to tight upper or bobbin thread tension. Looping happens when the thread forms loose loops on the underside of the fabric, typically from insufficient tension. To fix this, adjust the thread tension to balance upper and lower threads. Ensure the correct needle size and type are used for the fabric. Regularly cleaning the machine and using high-quality threads can also help prevent puckering or looping, ensuring smooth and even stitching.
8.3. Uneven Stitching
Uneven stitching can result from incorrect needle size, improper thread tension, or misaligned fabric. Ensure the needle matches the fabric type and thread weight. Check and adjust the upper and bobbin thread tension for balance. Misaligned or bunched fabric can also cause uneven stitches. Use a walking foot or Teflon foot for smooth fabric handling. Regularly clean and oil the machine to maintain optimal performance. Replacing a dull or bent needle can also resolve uneven stitching issues, ensuring consistent and professional-looking results in your sewing projects.
Regular maintenance, using the right accessories, and proper troubleshooting can prevent common Singer sewing machine issues, ensuring smooth and efficient sewing experiences.
9.1. Regular Maintenance
Regular maintenance is key to preventing Singer sewing machine issues. Dust and lint buildup can cause mechanical problems, so clean the machine frequently. Oil moving parts monthly to ensure smooth operation. Check and replace needles regularly to avoid damage. Store the machine in a dry, cool place to prevent rust. Always unplug the machine before cleaning or servicing. Refer to the user manual for specific maintenance schedules and guidelines. By following these steps, you can extend the machine’s lifespan and maintain optimal performance. Consistent care reduces the risk of unexpected malfunctions and ensures reliable stitching quality.
9.2. Using the Right Accessories
Using the right accessories is crucial for optimal performance of your Singer sewing machine. Ensure you use genuine Singer needles, as incorrect sizes or types can cause skipped stitches or fabric damage. Select threads suitable for your fabric type—cotton for general sewing, polyester for durability, and specialized threads for delicate materials. Bobbins should also match the machine’s specifications to prevent winding issues. Always check the user manual for recommended accessories, as using incompatible ones can lead to mechanical problems. Investing in quality accessories ensures smooth stitching, reduces wear on the machine, and enhances overall sewing results. Proper accessories are key to achieving professional-grade stitches every time.
9.3. Troubleshooting Best Practices
Troubleshooting your Singer sewing machine effectively requires a systematic approach. Always start by turning off and unplugging the machine for safety. Check power cords and foot pedals for secure connections. Rethread the machine, ensuring the upper and bobbin threads are correctly placed. Verify stitch settings and tension adjustments match your fabric type. Avoid guessing—consult the user manual or Singer’s official guides for specific solutions. Regularly clean and lubricate the machine to prevent dust buildup. If issues persist, consider consulting a professional technician. Preventative maintenance and adherence to best practices can save time and extend the machine’s lifespan.